Tuesday, April 23, 2013

MDSing Again

Hi all,

By now I am guessing most of you out there have heard of the MDS phenomenon. I jumped on board about a month ago and have been experimenting ever since. I am a very tactile crafter in that I love feeling things in my hands, so this whole digital thing was very foreign to me. i am also not that computer savvy...which in its own part proved challenging.

This is the first (and only card and tags) I have done on MDS. I am still getting my head around the fact that I actually found scrapbooking easier on this programme!!!

The card is very bright (again not usually my palate). All DSP's, embellishments, trims, stamps and sentiments are form the free downloadables in the 30 day trial of MDS.


The tag (again) is very basic, but I DID manage to get a faint snowflake punch as a faint accent in the background.


Thanks for popping by today. Only a quick one as I am wrangling kids on School Holidays and creating MORE before my Free 30 Day trial expires in 5 days. promise to share more soon.

Stuff Used:
SU MDS - click this link here to download it and try it for yourself

Lynda xx

Wednesday, April 17, 2013

Some Small Piggy Smiles

Hi all.

Ever see a card and think I HAVE to do that....and then it takes forever to fin the right occasion to come around??? Well I found such a card...and such an occasion DID come up!!

I was inspired by a couple of Piglet cards here and here. The one on Carla Scraps also came with a very handy tute, so I went from there. My GORJUS niece recently celebrated her 3rd birthday and so this was her card......

I found that everyone I shared this card with smiled, and that is the best thing ever!! I did change a couple of things in Carla's Tutorial in that I left Piglets Torso a single layer and drew on his "belly". This was done by centering and tracing around a "scrap" owl punch piece. I also embossed the white oval the with Cloudy Day EF....made such a difference.


The grass is done with the Martha Stewart Grass punch and I added the Itty Bitty Banner for the birthday.


To go with the card, I enclosed an UBER cute beaded bracelet/necklace and hair pin set made by my Bestie - Tracey. She is now selling sets like this and many more through e bay and Facebook under Berry-licious. She even does wee earrings too. They are so perfect for the up and coming young gal about town. Please check out her creations if you have the need for something special and unique foe a little princess.
 
 
Thanks for popping by. I so love reading all your comments and appreciate your taking the time to leave them.
 
Stuff used:
CS: (SU) Whisper White, Regal Rose, Pink Pirouette, Tea Party DSP (ret), Pear Pizzaz, Wisteria Wonder, So Saffron, Pool Party, Basic Black
Ink: (SU) Regal Rose, Pink Pirouette (also sponged on all Piglet pieces), Regal Rose SWM for mouth and belly lines
Stamps: (SU) Itty Bitty Banners
Dies and punches: (SU) Oval Framelits, Banner Framelits, Owl Punch, Bird Punch, Word Window Punch, Martha Stewart grass Punch, Carla Craft CP2 Balloon Punch and 1/8" circle punch
Other bits: SU Cloudy Day EF, Dimensionals, Double sided tape
 
Lynda xx


Saturday, April 13, 2013

Going Outside the Box a Little

Hi all.

Once again I find myself hanging my head in same at my total SLACKNESS in posting....seriously....where did 2 darn weeks go??? Believe me when I say it is not due of a lack of things to share!!

Today's creation has a slight twist on it and came about as I was VERY time poor. I had a request to do a card for a 10yo birthday party and that there was an iTune gift card to go with it. Immediately I thought "cool....do one of the Patty Stamps ones" like here. I was then going to do a larger version for the actual card to write in. Sadly this was also around the time of my 1st workshop and also a lot of other commitments. I ran very short of time to complete the 2 projects. The young birthday girl that was to received the card, her fave colours were red, black and purple, so this was my starting point.

So then I thought to myself why not just make the smaller gift card holder BIGGER? So Google got a flogging and no joy. So then I thought "ok....surely it can't be THAT hard to work out." I got to work...and this was the result.....
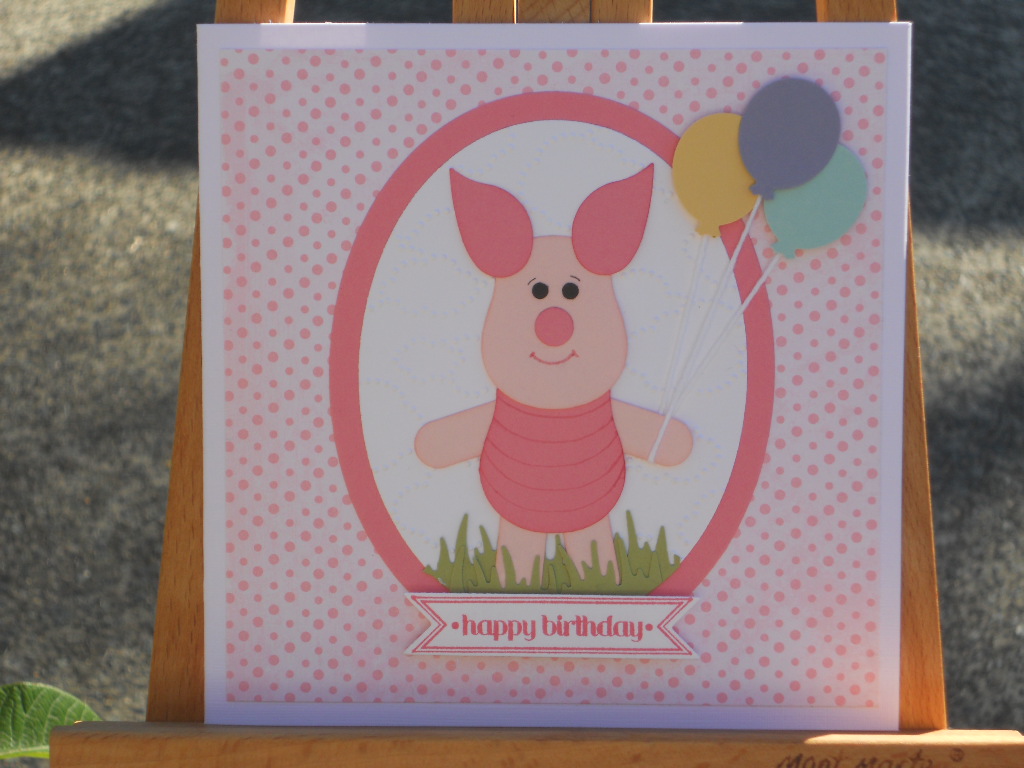
Front


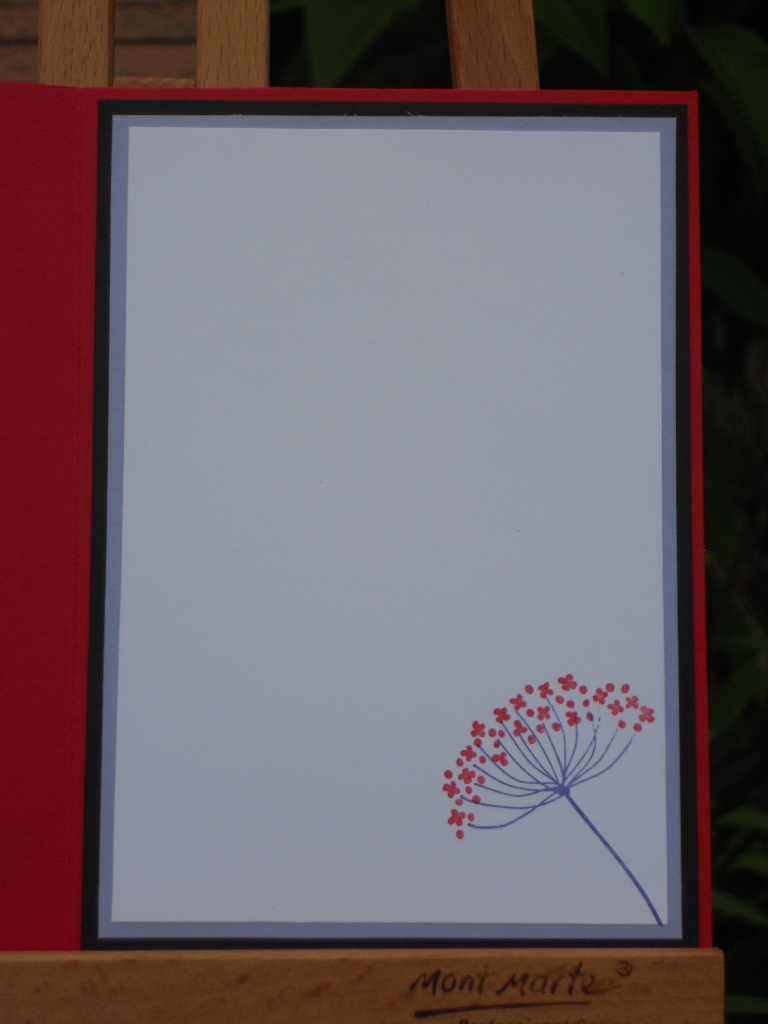
              Inside Front                                                                                                 Inside back


The fun part was getting the slot right in the very middle of the card. In the linked tute Patty uses the Word Window punch, but I wanted to step it up a little. I used one of the labels Framelit dies to assist in getting a very pretty shape. This was the result.....


This is what it looked like when the card was "normal". I thought it looked really PURDY.
 
 
I guess I should have started out by saying that this card is a standard A5 card (10.5cm x 14.8cm - or 1/2 and A4 sheet of CS.) The red base however was constructed from a 30 x 30cm sheet of CS to get all the folds etc.
 
Thanks for popping by and I hope you like this bigger version of the smaller traditional one. I think I may create some more of these as they are very handy to have and it really is an all in one!!
 
Stuff Used:
CS: (SU) Real Red, Basic Black, Whisper White, Almost Amethyst (ret), non SU glitter CS
Ink: (SU) Real Red, Almost Amethyst (ret), Certainly Celery
Stamps: (SU) Summer Silhouettes, Papillion Potpourri, Birthday Wish (ret)
Dies/Punches: (SU) Labels Collection Framelits, Elegant Butterfly Punch, Wide Oval and Large Oval Punch
Other Bits: Dimensionals, Double Sided Tape, Cuttlebug Olivia Alphabet (for the numbers)
 
Lynda xx

Monday, April 1, 2013

I Scrapped!!!!!

Morning all.

By now, most of you may have heard via the grapevine, other blogs, word of mouth or read it here first...about the digital scrapbooking and card making facility that Stampin' Up have called My Digital Studio (or MDS).

It's only $24.95 for the FULL version, which includes $600+ worth of content. You can download a FREE trial version for 30 days.  You have the potential through this software to do so much with it from Digital scrapbooking to cards, birthday invitations, birthday party decorations, Cake toppers, etc,etc,etc.....you are limited by your imagination!!!

MDS gives you the opportunity through their 30 day free trial (check it out here) and if you like what you do with it, then you have the opportunity through discs available in the main Catalogue (page 205) and the new Seasonal Catalogue (pg 5, 30 and 39 - hostess benefits) you can build a creative digital empire.

I have a blog friend - Nicole Derendorf - who is a genius at this kind of thing and has been BEYOND helpful in helping a non techno person like myself using this software. You can check out Nicole's amazing creations here. Just scroll through he blog and you will find many examples of her cleverness!!

Well....I hope you are all sitting down for the following reveal. I have watched my bestie scrapbook and marvelled at her creations. She has been AT ME for years to get off my backside and give it a go....well I did.....through MDS anyhow. This was my 1st attempt (click on the pic to make it larger)...

Now apparently, after you have "mastered a single page layout, you move onto a double page layout!!! This was the result.....


Now my 2 models are my children (now Miss 8 and Mast 12)....and yes...these pics were taken some time ago indeed.

I had a lot of fun (and more than a couple of bloopers) putting together these pages, but once you have a play....you DO get the hang of it....even if you are nearly computer illiterate like myself!!!

Thanks for popping by. Soooooooooooo much more to share!!

Stuff used:
SU MDS

Lynda xx